Christmas Cake Design
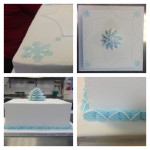
I’m currently enrolled in ABC Level 1 Cake Decorating at Trafford College. This is my first assessment piece – a Christmas cake.
The assessed elements of the cake are:
Coating – the ‘cake’ is actually a polystyrene dummy coated with three layers of royal icing. The top has to be done and dried before the sides and then opposite sides must be covered and dried before covering the final two sides. The layer must then be dry before repeating this for the next layer – a long process! The icing must be even, without hesitation marks and have no air bubbles.
Shells – piped in blue around the base of my piece with a #13 nozzle. Shells should be even in size, rounded and well formed.
Bulbs – piped here with a #2 nozzle. Bulbs need to be perfectly round and evenly sized without tails from removing the nozzle. Using a wet paint brush to gently round them after piping helps.
Stencilling – the snowflakes in the corners. Coverage should be even and edges should be crisp.
Runouts – the Christmas tree is constructed with runout stars of varying sizes held together with royal icing. A drying cabinet is ideal for this many runouts, they take a few days to dry properly otherwise and don’t get a shine if dried slowly. I used a symmetrical six point star image as a template and resized it in Photoshop for the various layers.
Template – the line work outline on top of the cake was made using a baking parchment template for symmetry. To make a template a piece of parchment is cut to the size of the cake folded in half and half again (repeat if required), a design is drawn and cut from the template. When the parchment is unfolded you have a symmetrical design to pipe around. I actually forgot about my template work and stuck the tree down first so had to cut a square hole out of the centre of my template so it would slot over the tree!
Lettering (not shown) – I piped ‘Joyeux Noel’ with a #2 nozzle onto a sugarpaste plaque using a scriber to punch the outline of the lettering into the paste as a guide from a template first.
Overpiping – again, using a #2 nozzle, I piped lines over the shells in alternating directions to create a zigzag effect.
The icing colour that I used is Sugarflair Baby Blue.
Photo of the finished article to follow.
You May Also Like
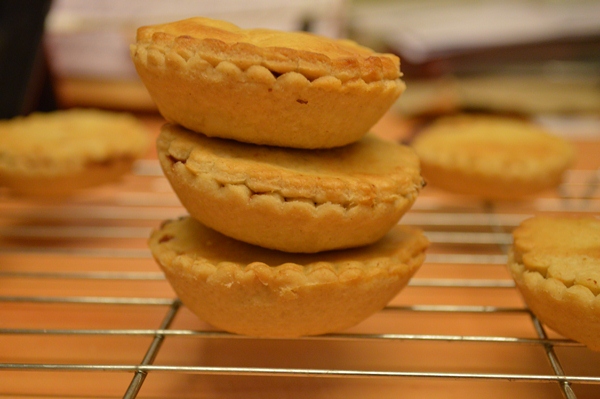
Christmas Comes Early: Mince Pie Recipe
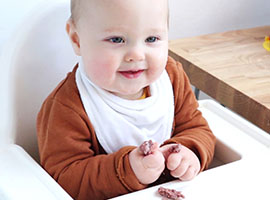
Baby Led Weaning: Dairy Free Raspberry Porridge Fingers Recipe