
Cute as a Hand Sewn Buttonhole
This week I’ve been busy sewing my audition pieces! One of the options to showcase is a hand-stitched buttonhole. I’d never done one of these before (thanks to the one step button hole setting on my sewing machine!) but thought I’d give it a go.
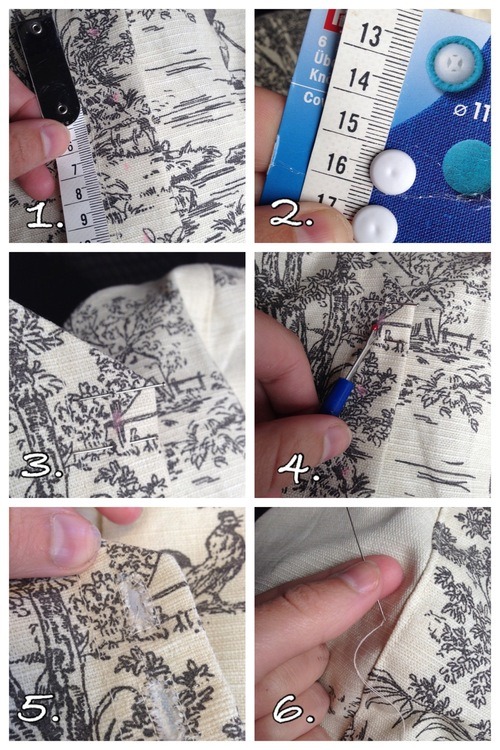
1: Mark out where the buttons are going to be placed on your garment measuring even spacing.
2: To get the right sized hole you need to measure the button height and depth and add them together e.g. My buttons had a 1cm diameter and were 3mm thick so the holes needed to be 13mm.
3: Mark out the length of the button hole with tailor’s chalk – with the button mark in the centre of the line.
4 & 5: This next step is probably cheating slightly but it really helped me – treat the line with fray stop liquid and leave to dry. Next, either by hand or with the machine (probably cheating again!), stitch a rectangle around where the hole will be leaving a couple of milimeters between the stitch and the line. This will be the guide for your hand stitches. I did attempt the more natural way of ripping the seam line without a guide or fray stop and it didn’t work out as well so for me this is the best way to get a neat finish. Using a seam ripper, create the hole along the marked line.
6: Thread your needle and knot ends of the thread together – you will be sewing with double thread. Following the stitching guide use blanket stitch around the hole and tie off once fully covered.
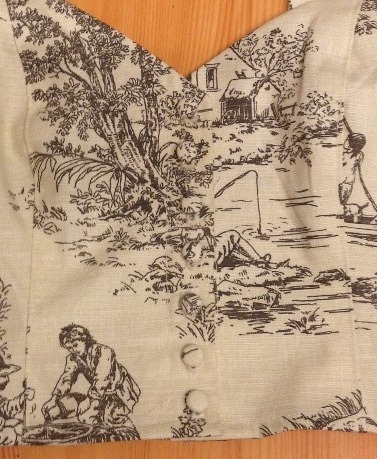
Obviously hand stitching isn’t as neat as you’d get with the machine (maybe that’s just my hand embroidery skills…) but it is quite therapeutic – I did this to kill some time whilst sitting on a train to London.
You May Also Like

DIY Fabric Rose Bouquet – My Hillary’s Country Crafts Competition Entry

DIY Smock Dress Sewing Pattern – Free Download!
