

DIY Despicable Me Minion Cake
This weekend I was enlisted to help my best friend decorate a cake for her 4 year old’s birthday party. At first he wanted a Hot Wheels Transporter cake (a bit ambitious) so he settled for wanting a minion, Despicable Me is great right?
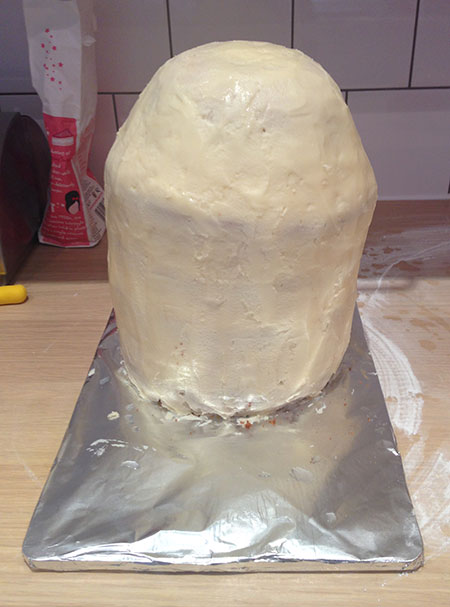
Rosie baked the cakes in advance, the minion is made up of 5 stacked cakes baked in 20cm sandwich tins with jam and buttercream in between each. We then dowelled these to keep them steady. The dome of the cake was baked in a pyrex bowl, unfortunately we didn’t have a 20cm hemisphere tin which would have been perfect for the job.

Next, we put on a crumb coat of buttercream, filling in any gaps between the layers and also beginning to pad out the difference between the edge of the dome and the layer below. This then went in the fridge for 15 minutes to firm up before we applied another coat of buttercream to smooth out the surface. One more trip to the fridge before giving a final smoothing with a butter knife dipped in boiling water. This bit helps iron out any lumps and bumps that would show through the top layer of icing and gives you a nice smooth surface to work on.
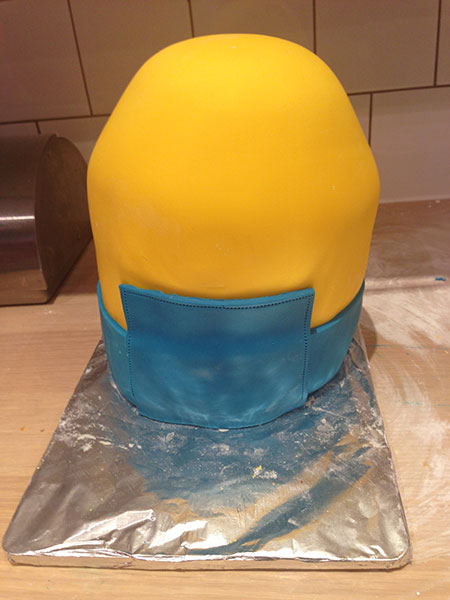
The icing that we used was Renshaw’s coloured icing, I must admit that it isn’t the best for covering as it dries out and cracks quite quickly, luckily for us the cracking was lower down the minions where we could cover it with the dungarees! We used 1.25kg of yellow icing to cover the cake. I would advise keeping Renshaw’s for modelling or embellishments rather than as a cover, I always prefer to cover with a decent quality white icing that I’ve coloured myself.
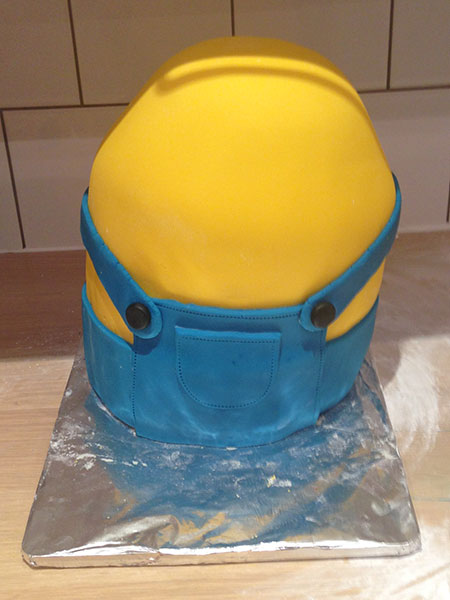
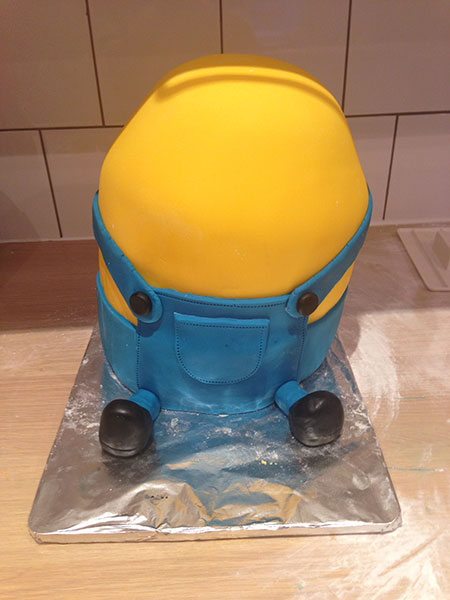
After smoothing out the surface with an icing smoother and trimming the edges. The next job was to roll a 10cm strip for the dungarees. This was dusted with some water to stick and then wrapped the entire way round the cake and joined at the back. We used a perforated wheel to make a stitched effect on the seams to make it look more authentic. Then, using a plain roller tool we cut out a square of blue icing for the dungaree front (roughly 15cm square) and stuck this on and also created a little pocket for the front too and added the same stitching effect.
Two 20cm x 3cm strips of blue icing made the dungaree straps, you have to be very careful lifting these to make sure there is no cracking or tearing and stick them in place over the minions shoulders. We added two flattened balls of black icing for buttons.
Next we made legs out of the remainder of the blue icing to stick out the front so that the minion cake was sitting – 3cm x 2cm sausages and boots out of black icing, with a heel mark pressed into the sole with the flat edge of a skewer.
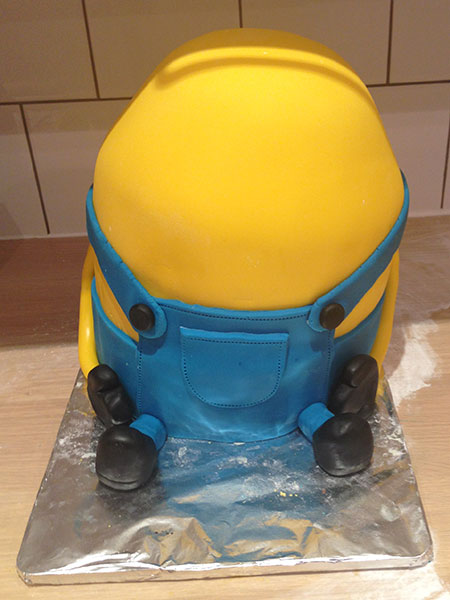
The arms were also sausages of icing, again about 2cm wide, these were a bit more trial and error with the rounded top end pressed on to the shoulder and then bent round and cut to size to fit evenly on the board next to the legs. Three fingered gloves out of black icing completed his arms. Tip: make sure you have plenty of definition between the fingers, use a cocktail stick or a skewer to press between the fingers if you need to, otherwise your glove won’t look like a hand.
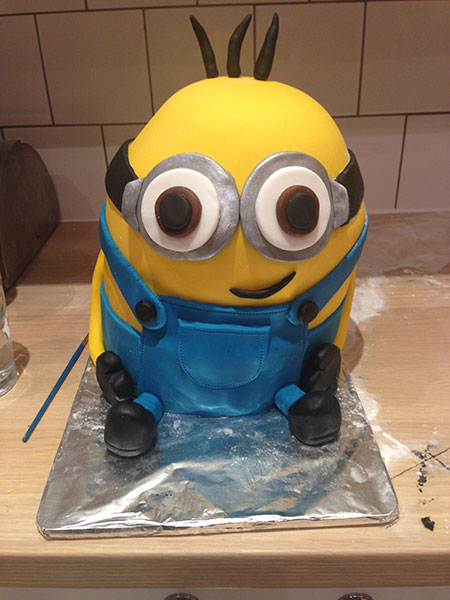
The minions eyes are concentric circles of sugarpaste, we dusted the outer grey ring for the goggles with edible silver lustre powder to give them a metallic effect, then added a circle of white with a much smaller brown inside and a black centre. We added another strip of black icing for the goggle band and add some small rhombus shapes at the side for the adjusters – these were also lustred.

Finally we gave him some hair by rolling three tapered sausages slightly bent at different angles and attaching them with broken strips of spaghetti into the dome of the head so they’d stay upright.
This isn’t one for the faint hearted, it took us a good 4 hours or so to get him finished but definitely worth it. He was the party VIP! If you haven’t seen the Despicable Me films and don’t get the hooha, watch them. I didn’t get it either but now I’m hooked!

One Comment
Jag
Good Job! Looks great 🙂 X