
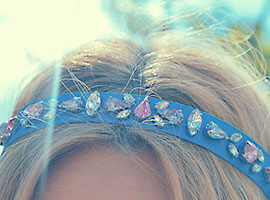
DIY Rhinestone Festival Headband
The countdown is on! Glastonbury is 5 weeks away and I want the campervan to be packed with handmade goodies to get me through the weekend!
This headband is my first festival DIY this year. This summer is going to be all about hair accessories! From flower crowns (watch this space) to customised headbands to hair chains, this is the season to style up your hair. Hippie vibes are Glastonbury’s bread and butter and I like to think this super simple embellished festival headband adds just the right amount of hippie chic to my handmade outfit.
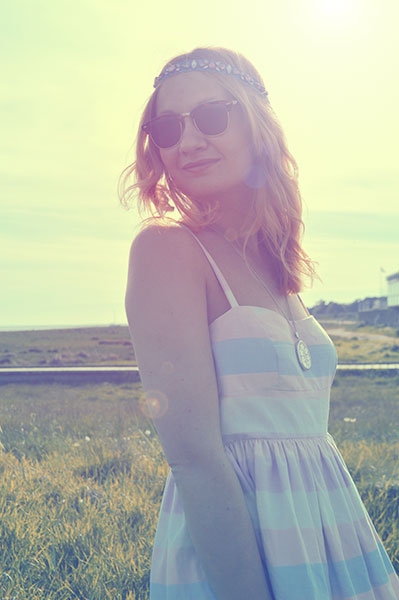
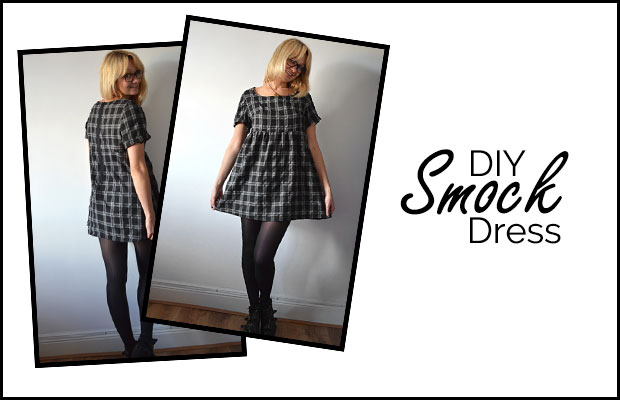
(Details of the dress shown in some of these photos can now be found in my McCall’s 5850 Dress Pattern Review.)
I bought my Wander and Hunt Rhinestone Kit a while ago and have spent a lot of time staring at it trying to think up a project worthy of the lovely shiny stones and finally inspiration struck!
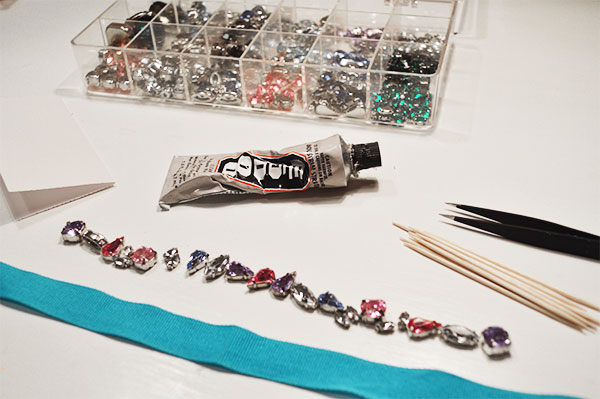
For this DIY you need:
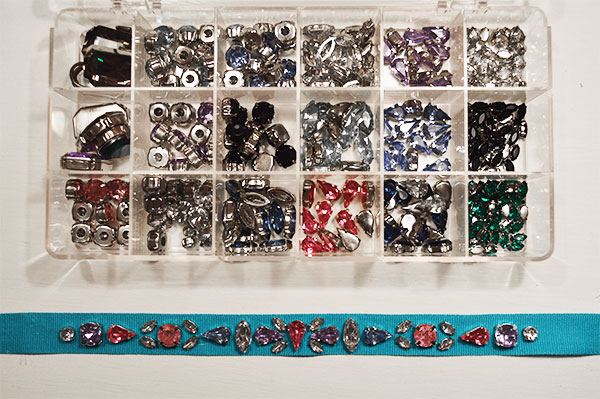
Rhinestones
E6000 Glue (or similar)
Cocktail sticks
A ribbon
1. Measure the ribbon so it’s long enough to wrap round your head and tie at the back.
2. Layout the rhinestones into your desired pattern before getting the glue involved so you can make sure you end up with a design that you’re happy with.
3. Once you’ve got your design laid out take a photo of it on your phone or digital camera so that you can refer back to it in case your rhinestones get mixed up as you go. (This happened to me and I was really glad I’d taken the picture!)
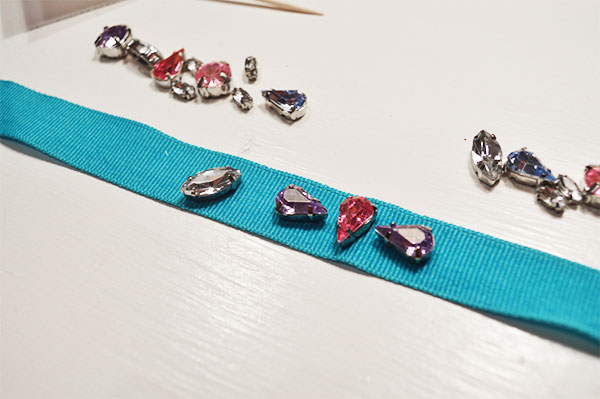
4. Fold your ribbon in half so that you can identify the centre point, I rubbed the fold between my fingers a few times so that I could easily see the middle but you can mark it with chalk or something if you find it easier.

5. Squeeze a blob of glue out onto a folded piece of scrap paper, use your cocktail stick to apply a coat of glue to the underside of the jewel that you want to place in the centre of the ribbon, being careful not to get any on your fingers. It’s important to note that if the layer of glue is too thin, your jewels may fall off but if it’s too thick it will ooze out of the sides of the jewel. Practice makes perfect here.
6. Work outwards from the centre glueing each jewel into position. I used fine pointed tweezers to place the smaller, more fiddly rhinestones.
7. Once all the jewels are in position leave to dry overnight.
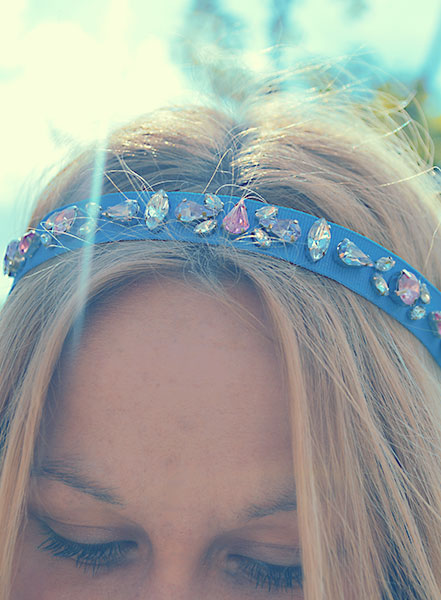
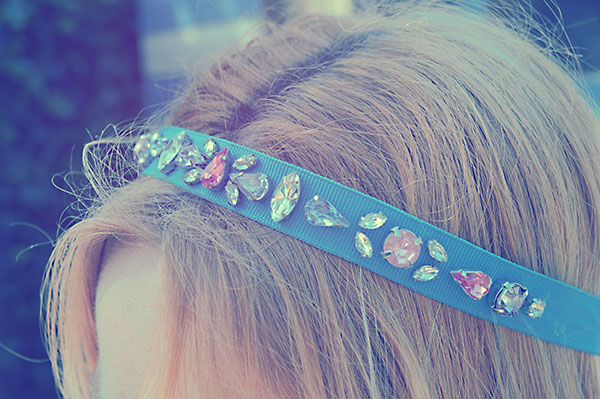
8. Your headband is ready to wear, position the central jewel at the front and then tie the ends into a bow at the back of your head. If you didn’t want a bow you could easily add some velcro squares to the ribbon so that it fastens snugly with no tails.

5 Comments
Noreen
A lovely tutorial! My 3 girls would love to show off these blingy hairbands on their long locks. I love your blog and follow you with interest on Pinterest 🙂 A fellow Mancunian. Noreen
Catherine
Thanks Noreen! 🙂 lovely to hear from another Mancunian too! x
Jess @ Along Came Cherry
Ah I live just down the road from the Glastonbury Festival site. I’m not going this year as my two kids are too young but I’m going to be so jealous of everyone there in a few weeks when it’s on! Have an amazing time! x
Catherine
Ah thanks Jess! I’m so excited! 🙂 x
zen
Nice one! Very summery! 🙂 i see tt u r hooked on rhinestones now 🙂