Making Sugarpaste Bows

Tonight I made an icing bow to use on the christening cake I’m making for my assessment. Although the instructions are easy to follow it’s actually quite tricky to get the bow to look perfect (particularly with acrylic nails!).
1. Roll the icing out thinly. Mine is coloured with Wilton Rose Red and has some Sugarcell mixed in so that it will dry solid.
2. Using a ribbon cutter (or a knife) cut a strip of icing at the desired with – should be just over twice as long as you’d like the bow to be.
3. Now cut the strip of ribbon in half vertically. Dab the inside of one end with edible glue and then carefully pinch in each end to create the ribbon folds. This gives you one side of the bow.
4. Repeat with the other half of the strip then dab the centre of one half with some edible glue and press the other half on top.
5. Now cut another strip of icing, pinch it together and wrap it around the centre of the bow – pasted with edible glue in advance.
6. Using a modelling tool open up each side of the bow and insert some rolled kitchen roll – this will hold the shape of the bow as it dries.
7. Use a small ball modelling tool to finesse the ribbon folds and smooth any uneven edging. Leave to dry, you can then attach the bow to your cake using edible glue or royal icing.
You May Also Like
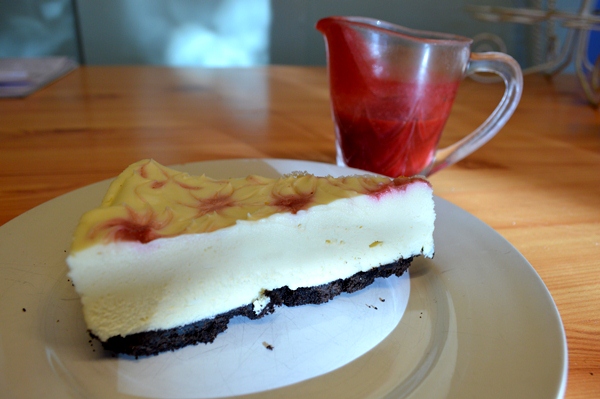
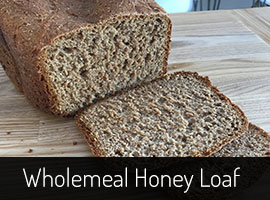
White Chocolate & Raspberry Cheesecake Recipe
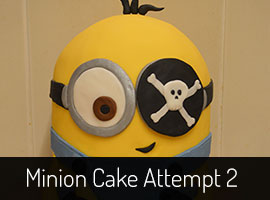
How to Decorate a Minion Cake #2