Sizzix Texture Boutique Beginner’s Kit: A Papercraft Tool Review
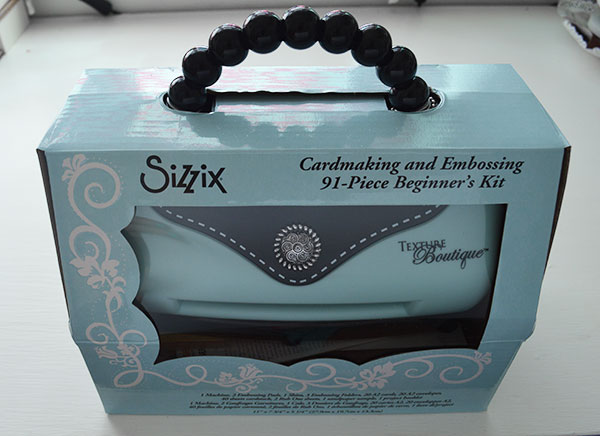
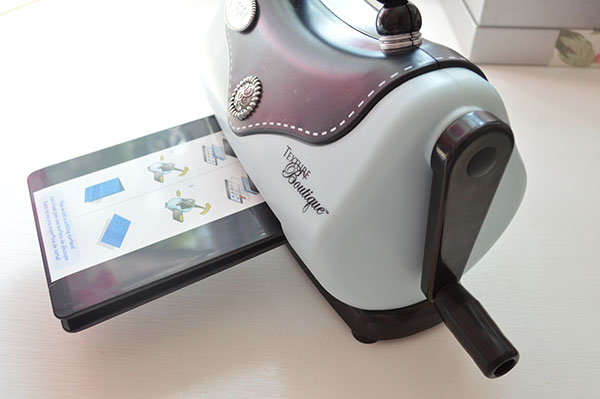
This week I received a lovely parcel from the darling people at Hobbycraft with a nifty new tool to try! The Sizzix Texture Boutique Beginner’s Kit is great for papercraft newcomers (like me) to get to grips with embossing, cardmaking and other papercrafting activities.
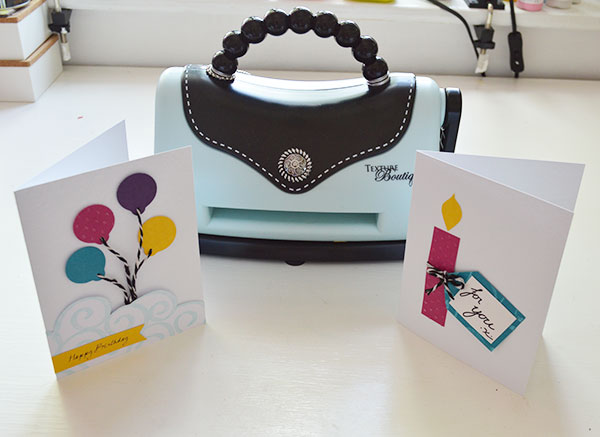
Besides the machine itself the kit comes with a ton of extras – blank white and ivory cards and envelopes, 40 sheets of multicoloured cardstock, sentiment transfers and three embossing folders. If that wasn’t enough the machine itself is super cute and shaped like a handbag in a very fetching duck egg blue!
I’m not one to make things easy for myself so instead of using the embossing folders to emboss a whole sheet of cardstock, I used them to texturise smaller pieces of card to make up a final design. This is the beauty of embossing folders – you can use them on a full sheet of card, on the edges or on small parts to make truly unique designs. To give the kit a good try I made a couple of different birthday card designs.
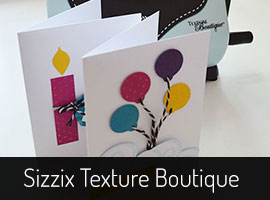
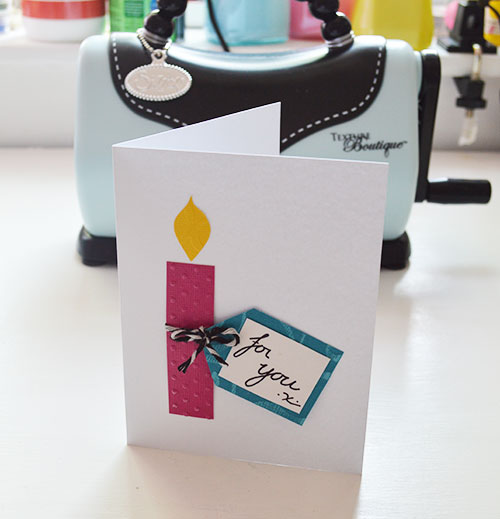
Card 1: Candle Birthday Card
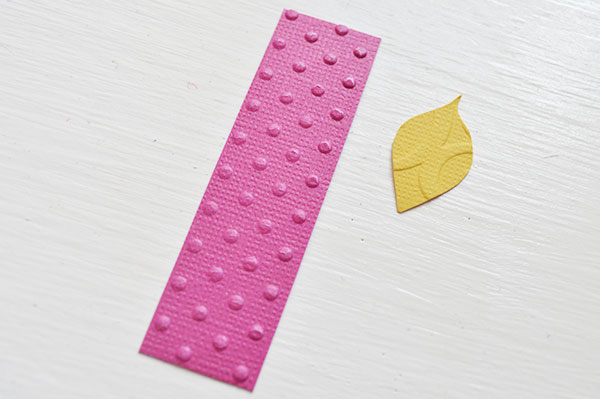
1. Emboss the edge of a sheet of the pink cardstock with the polka dot design from the large embossing folder. To do this just place the part of the cardstock you want to emboss in the folder with the rest on the outside. Then emboss a piece of the yellow card with the swirling pattern at the top of the same folder.
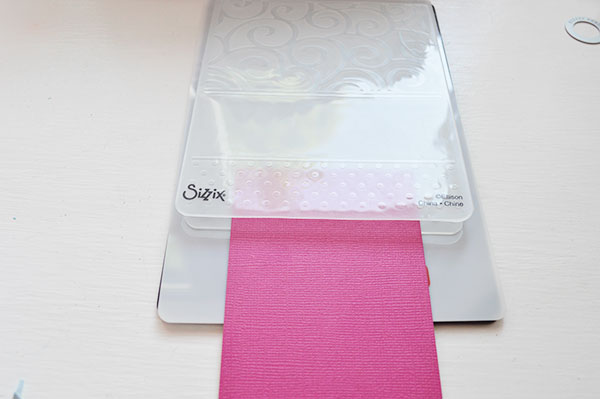
You can cover a wider surface area by cutting a wider rectangle and embossing each side, lining up the dots to continue the pattern.
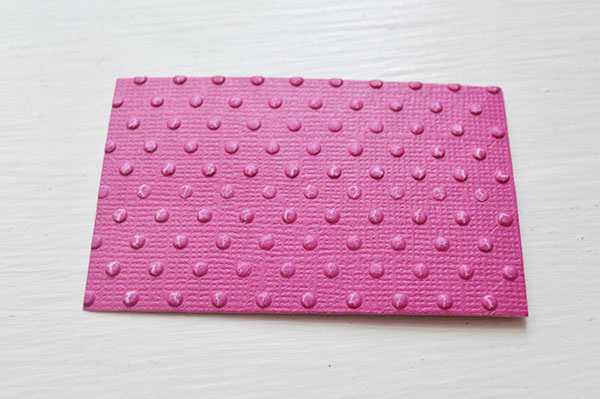
2. Cut the pink card into a rectangle and cut a flame shape from the yellow cardstock.
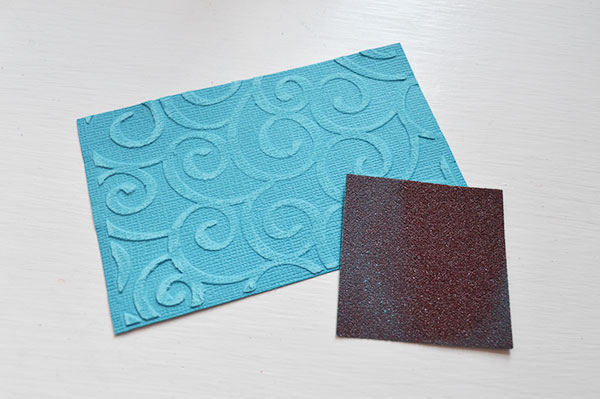
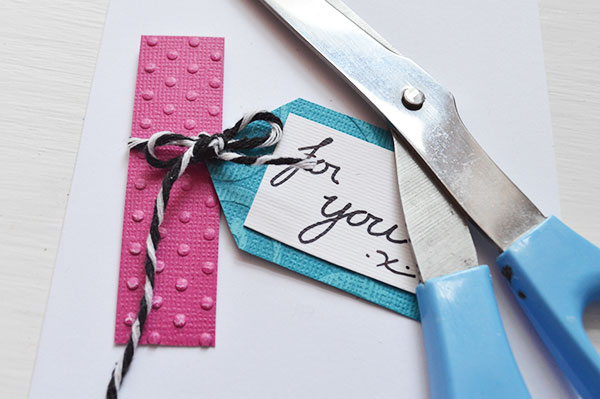
3. Emboss a sheet of the blue card with the swirling pattern. Using the sandpaper provided in the kit, gently sand the ridges of the pattern to reveal the lighter surface underneath. This distressed effect is great and gives real depth to your card designs.
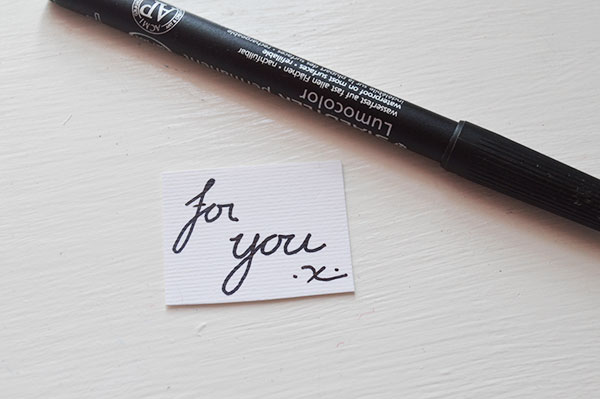
4. Cut the blue card into a tag shape and punch a hole in one end. Handwrite or stamp a message onto a piece of white card small enough to fit in the centre of the tag and glue into place.

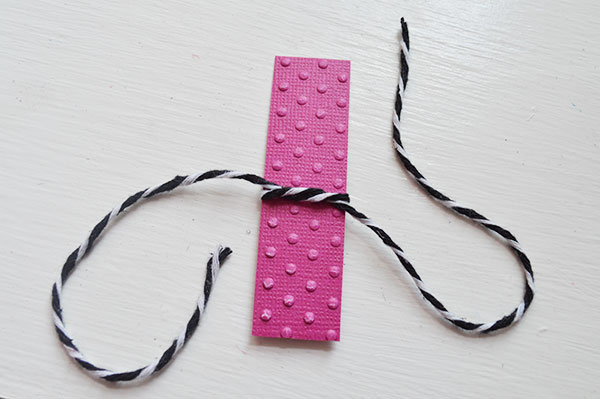
5. Tie a length of baker’s twine around the centre of the candle and thread one end through the hole in the tag and tie into a bow. Trim the ends.
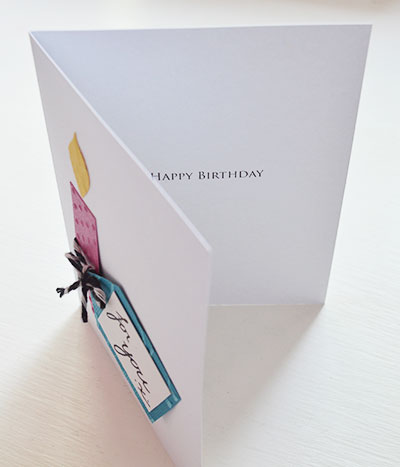
6. Using white glue, stick the candle to the front of one of the white cards and add a dot of glue to the top corner or the tag and stick into place.
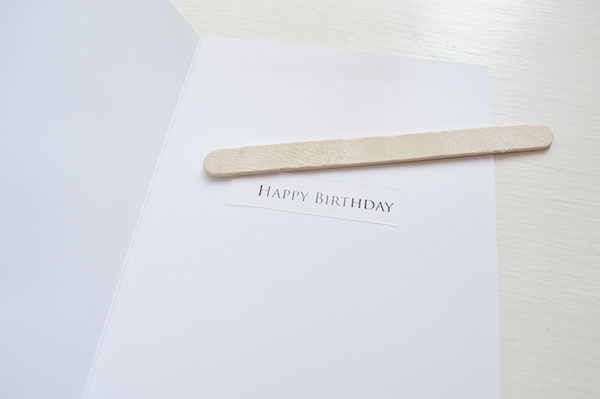
7. Cut out one of the sentiment transfers and position onto the inside of the card and, using the lolly stick provided, rub the transfer onto the card.
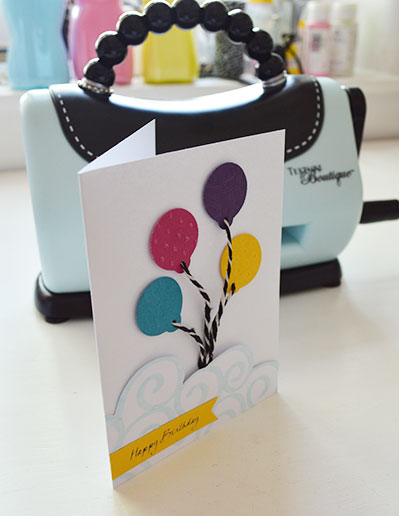
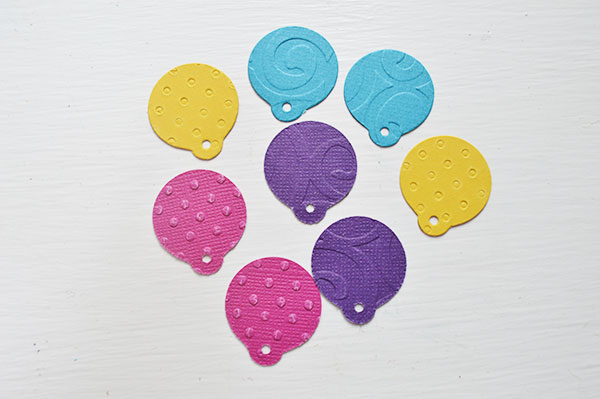
1. Emboss four colours of the cardstock, two with the polka dots and two with the swirl pattern.
2. Cut balloon shapes from the card. In the end I only used four but I cut eight to be on the safe side. I used my Sizzix Bigz Tim Holtz Tiny Tags Dies that I’ve had for a while to cut four colours of the cardstock. Upside down they have a pretty good likeness to balloons!
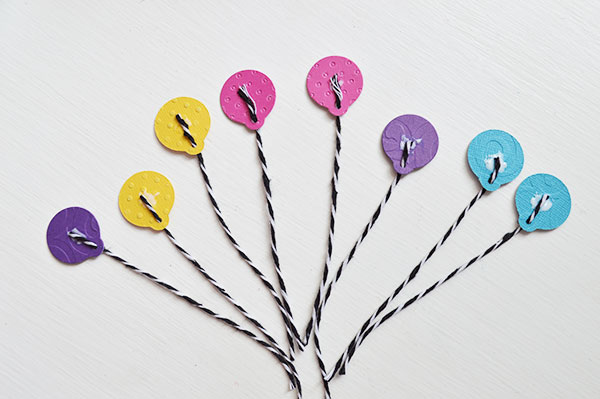
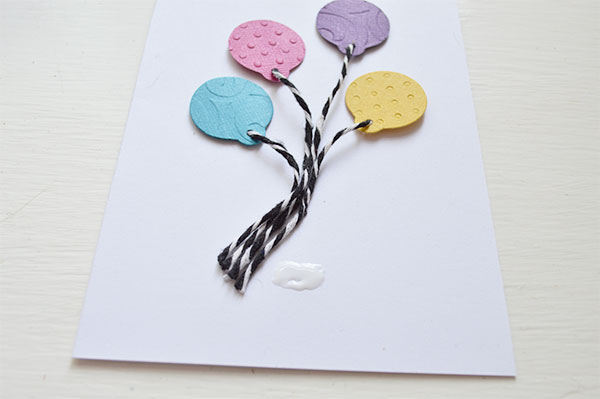
3. Cut lengths of baker’s twine, thread one through the hole at the bottom of the balloon and glue into place on the back of the balloon.
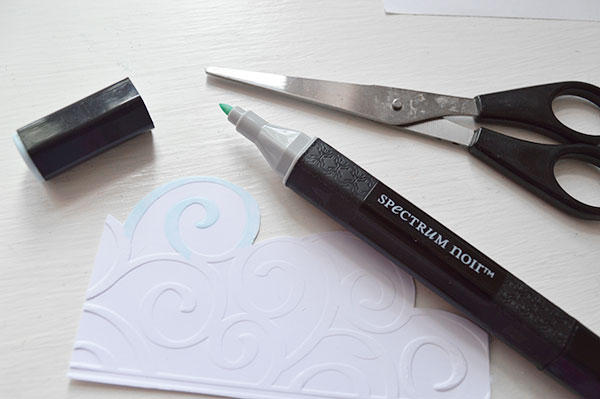
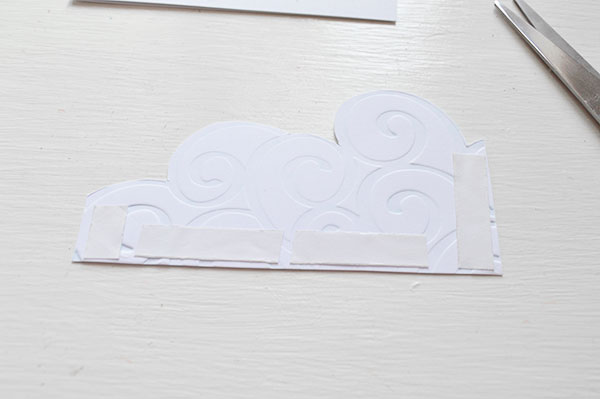
4. Emboss a piece of white cardstock with the swirl design. Then trim around the swirls with scissors to produce a cloud shape.
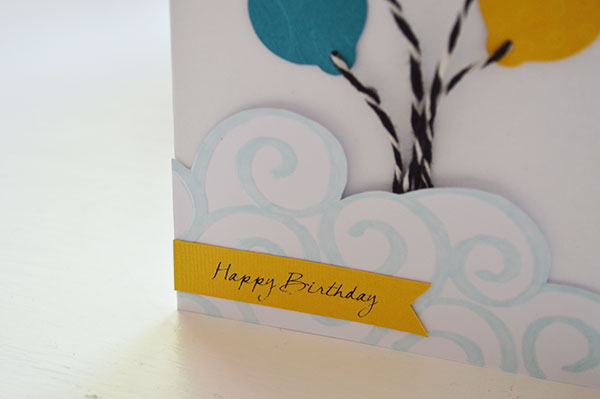
5. Colour the embossed lines with a coloured pen to emphasise the effect of clouds. I used Spectrum Noir marker IB1 from the Pastels Pack for this.
6. Once the tails of the balloons are glued into place, add a spot of glue to the back of each balloon and position onto the front of your card.
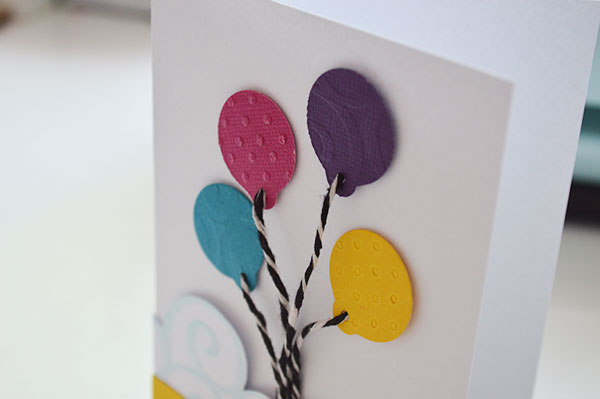
7. Add a blob of glue at the base of the card to secure the ends of the balloon tails, trim any tails that are longer than the card.
8. Secure your cloud along the bottom of the card with double sided tape, covering the tails of the balloons completely.
9. Cut a pennant from yellow card and transfer one of the sentiments onto it. Stick into place with more double sided tape.
All in all, this is a great little kit and is very easy to use. There are loads of embossing folders available to buy from the Sizzix range, plus the machine will cater for other brands too although will only cater for A2 sized cards so if you want to work on a bigger surface or will be die cutting a lot, a two-in-one machine like the Big Shot might be a better fit. Otherwise, this is a fab machine and definitely worth a try! 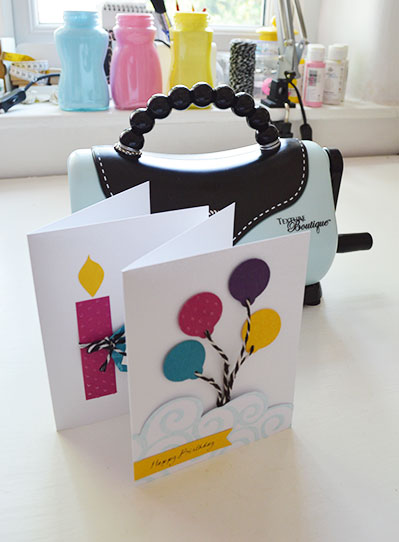
If you liked this post please leave me a comment and if you’d like to see more from me hit the button below and follow me on Bloglovin 🙂


You May Also Like
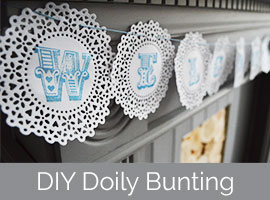
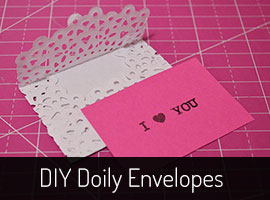
Things To Do With Doilies #1: DIY Handstamped Doily Bunting
Free Printables: Mottos To Live By